
The only room we did absolutely zero renovations to during our big project was the mud room. I had great ideas for the space, but I knew it would have to take lower priority with everything else going on. Here's a look at how it has looked since we moved in:

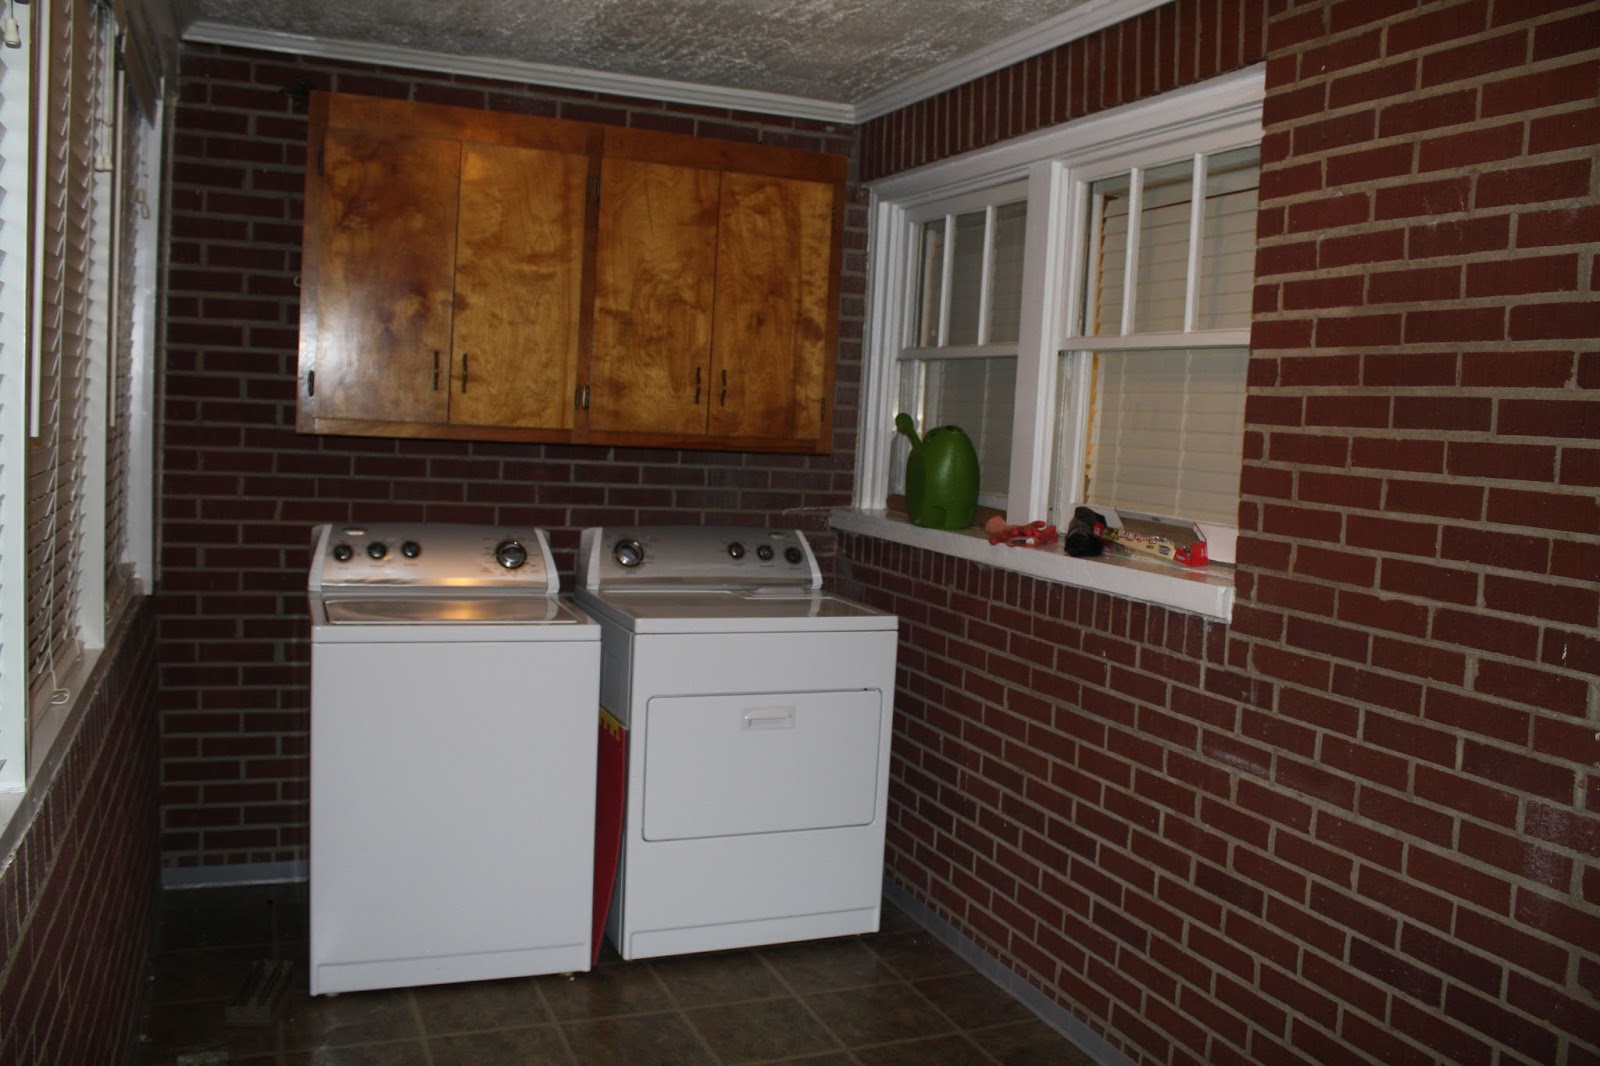

This is the first room you walk into from the back door. I kind of hate when houses are designed like that because I personally feel that a laundry room should be a space that you can totally close off from the rest of the house/visitors and not feel the need to keep tidy and clutter free. Even the most OCD girl needs at least one room to clutter up! :) But, alas, this is where ours is, and I'm really just thankful to have such a large laundry space in a house of this age, so it is what it is. So being that it is such a visible point in the house I definitely had plans to spruce it up!
With our pending new puppy addition it was the perfect time to re-evaluate the space and make some plans. We decided that we wanted to keep his crate in this room which kind of got the ball rolling as far as the rest of the project and figured it would be the perfect excuse to go ahead and spruce up the entire room before Gus joined us!
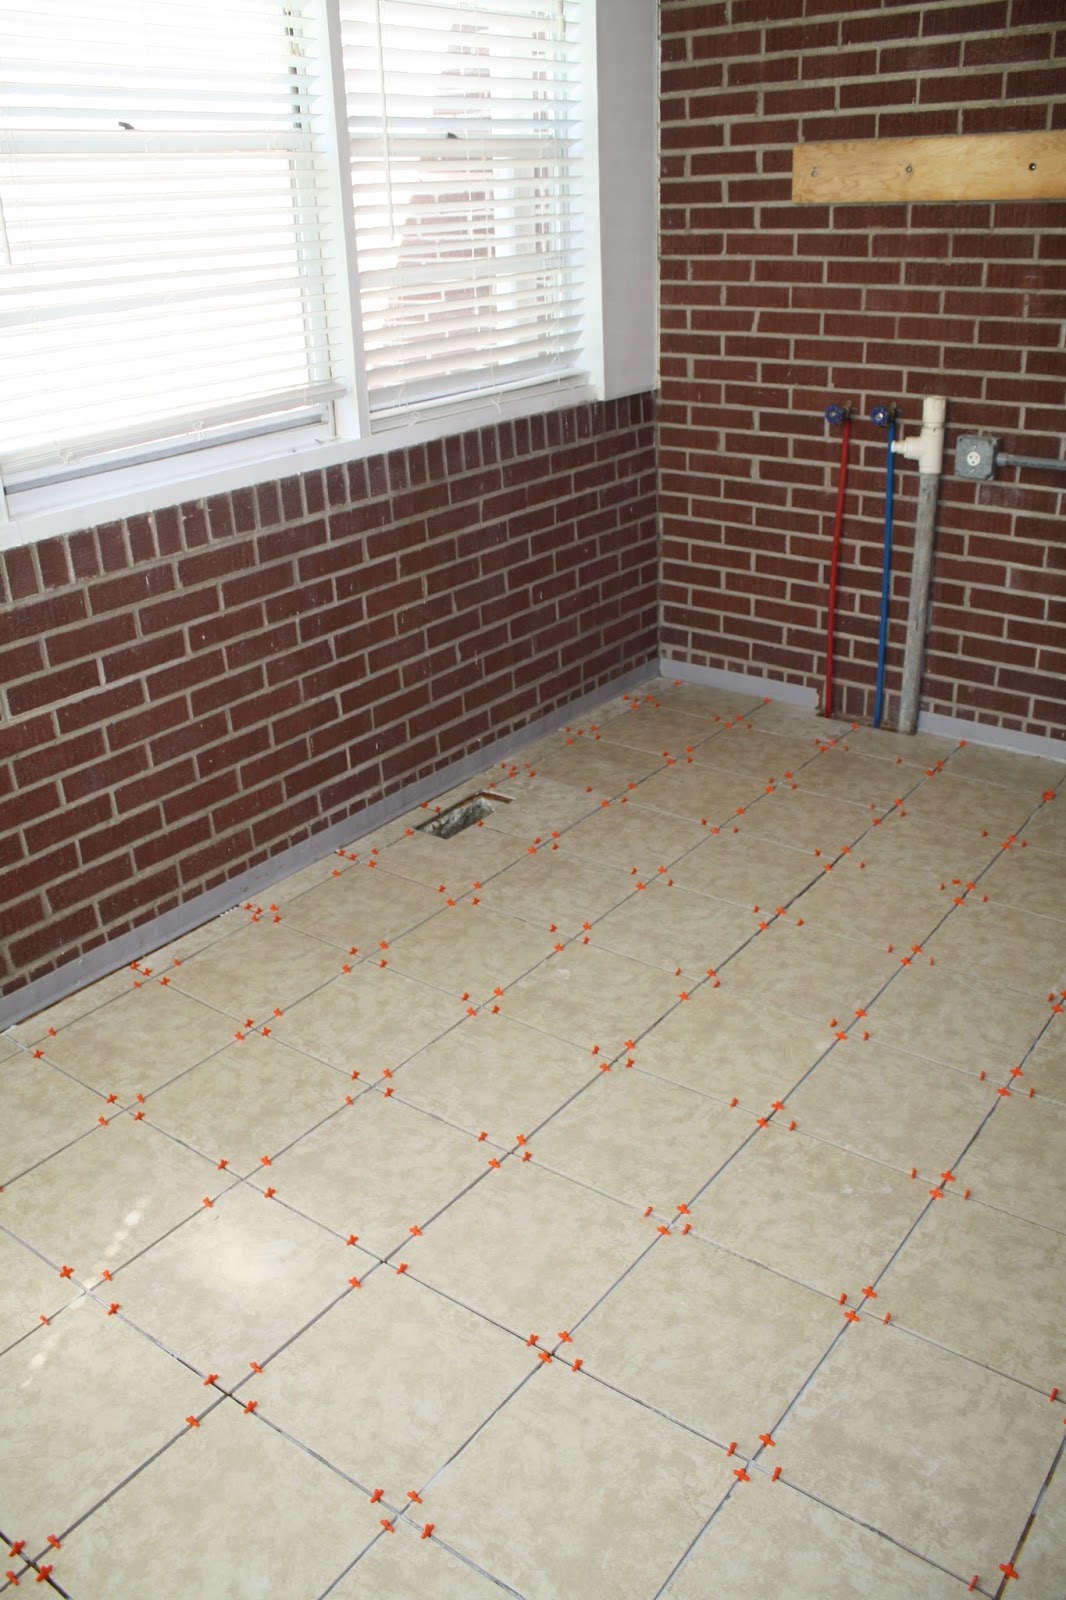
Our first project was the flooring. The original flooring was the same vinyl floor that was in the kitchen and entryway. We decided to switch this out for ceramic tile.

We pulled up all the vinyl and dealt with the sticky glue residue underneath. We were left with a solid piece of wood sitting on a huge slab of concrete which made for a perfect subfloor for tiling.


Then we started laying tile! Neither Dad nor I had ever tiled before. Adam did a tiling project years ago in high school and remembered the basics. We felt like as long as kept it straight-forward using simple 12x12 tile in a straight pattern we could tackle it on our own, So, we combined Adams minimal experience with a few YouTube videos and got to work. ;)
The most important part was measuring the center of the floor to give us a starting point. After that it was a pretty simple process.


Dad and I spread the mortar and laid the pieces while Adam went back and forth to the wet saw for cuts.


Once you mix the mortar you have to completely finish or it will set up. We mixed the mortar about 9pm Saturday night and it ended up being about 2am before we finally finished up! Crazy people.
The final look before grouting!

Adam and I did the grouting the next day which was a pretty easy process. Here's the final look!


The other thing we decided to do is add a little more function to the room with some cabinets, countertops, and a utility sink. We bought the stock cabinets from Home Depot and painted them Alabaster White from Sherwin Williams.
 |
| Brought back memories having this set up again! |

We tore down the two cabinets that were already there in order to create a uniform look and also to change up the set up along that wall. I wanted to include a tall cabinet on the far side to give me a place to store mops, brooms, and other cleaning supplies to keep them out of sight. I also decided to leave a space between the two cabinets on the back wall with plans to put a rod in between for a space to hang clothes for drying.


On the left side wall we added a row of cabinets which will hugely increase our storage space and also give us a nice countertop space to work with. We decided to go with a butcher block countertop and got the tops from Ikea for a steal! They were super easy to install, a GREAT price, and look amazing. I dont know if the quality would hold up well for the amount of abuse they would take in a ktichen, but they are PERFECT for a space like this one.
 |
| Measuring out the cuts. |


Cutting the hole for the sink.
And here's how everything turned out!


I LOVE the addition of the utility sink. It has been such a useful spot!


While we were brainstorming the set up of the room, we were keeping in mind a spot for Gus's crate. It is so huge and we decided the best place for it would be the front corner. This tucked it away from the main space, keeping it from being not quite as much of an eyesore. After placing everything we decided to kind of build it in by extending the countertop above it which gives us more countertop space and also gives everything a more finished look. And if we ever don't have a crate anymore we can easily turn it into a work bench type area. Love the way it turned out!


We kept this project as cost-effective as possible by using inexpensive tile (~$150 for the whole floor project), stock cabinets that we caught on sale, and a great price on the Ikea countertop. I am SO glad we decided to go ahead and do this before we brought Gus home because it has been such a useful space with him around.
No comments:
Post a Comment