January 12, 2014

Sherwin Williams' Most Frequent Customers

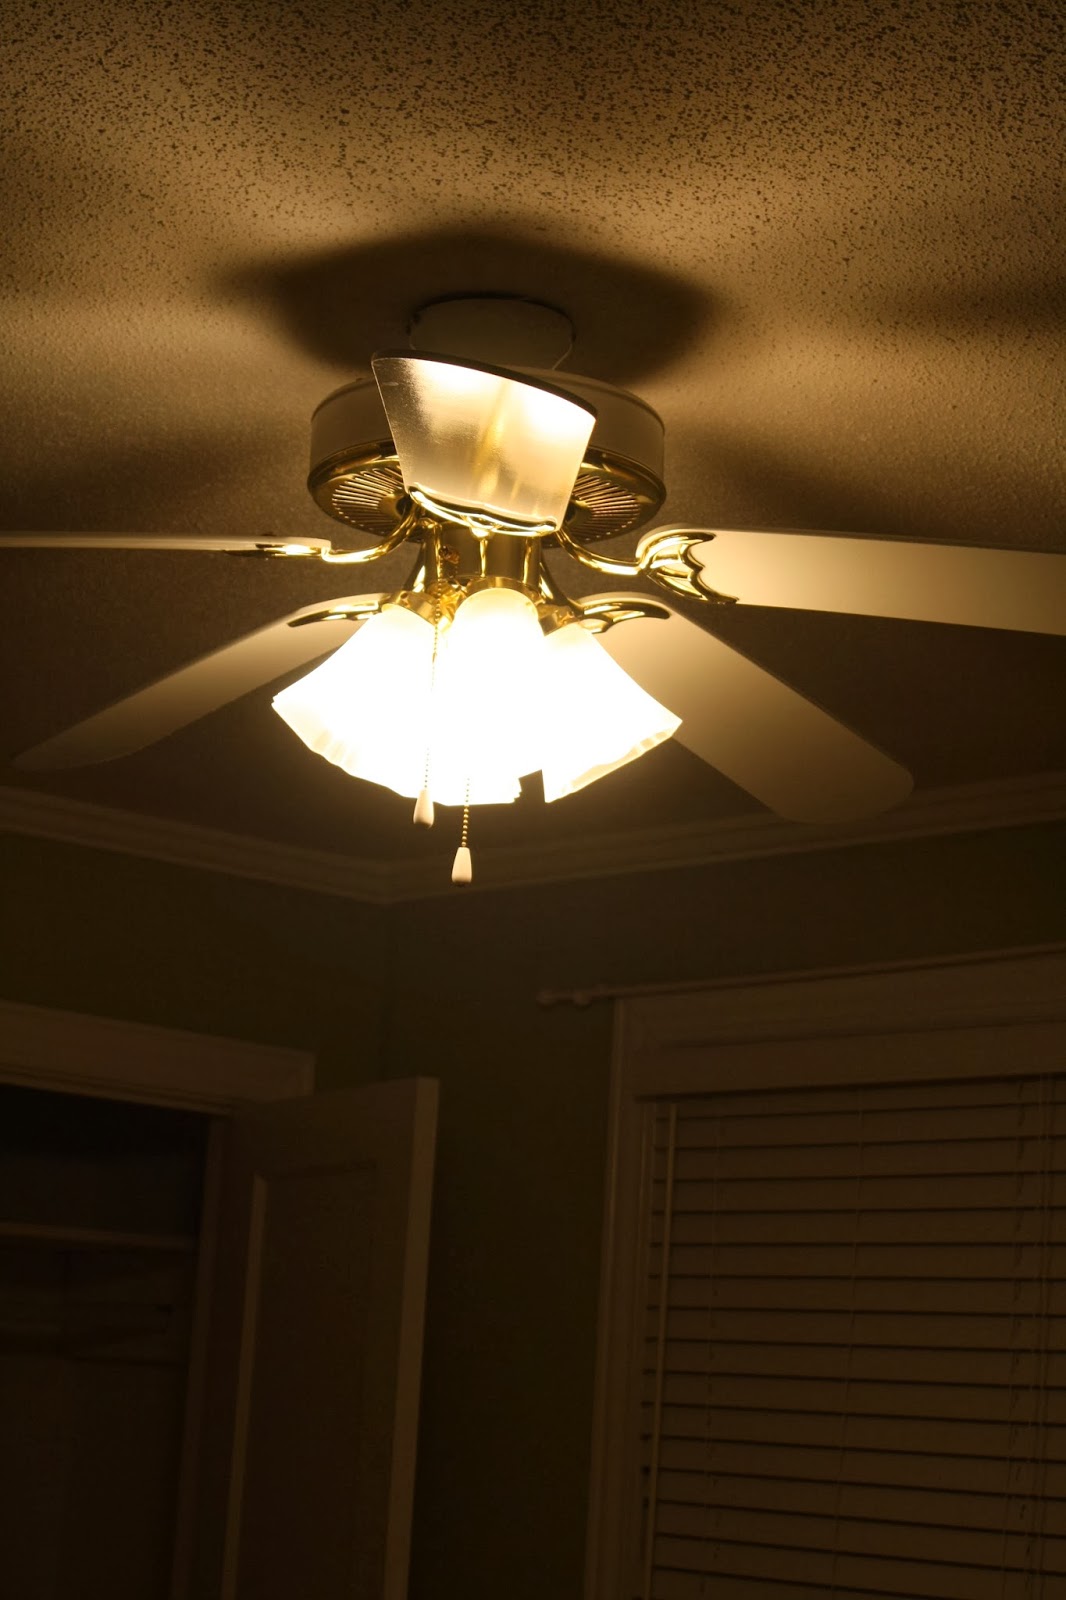
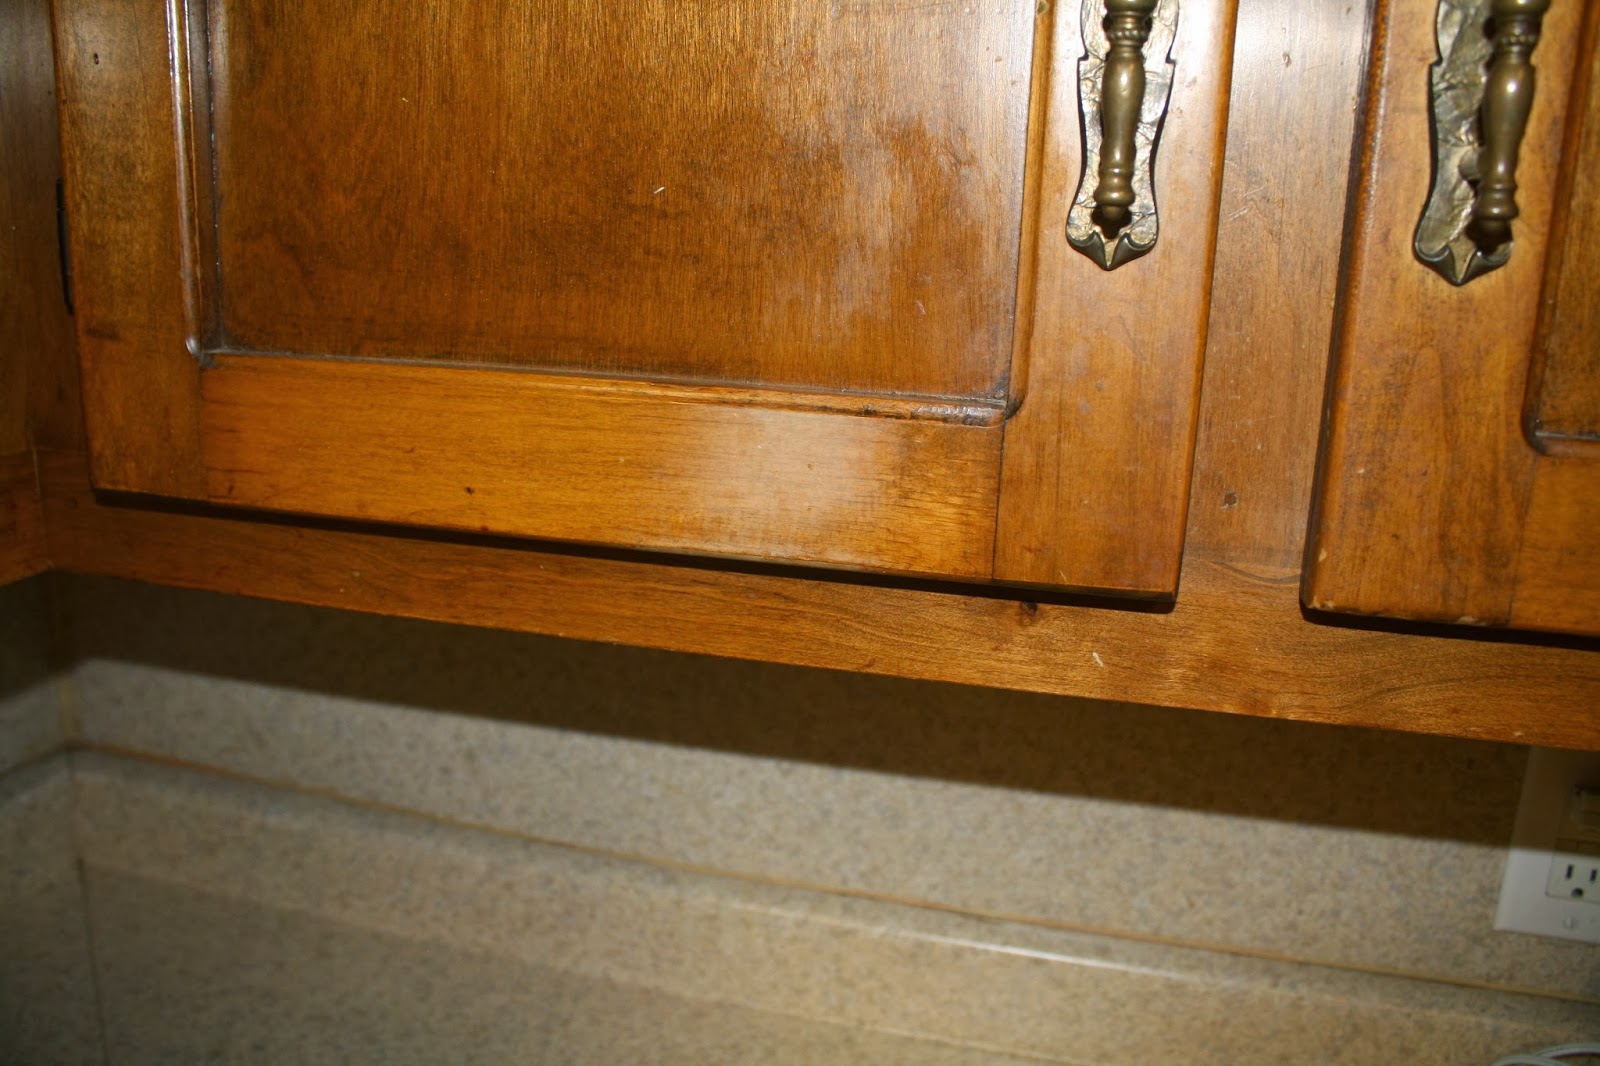
Yall, this house.. there was literally not a piece of wall, trim, ceiling, or cabinet that didn't need a new coat of paint. And I mean, DESPERATE need. Not only were the color choices pretty drab for the most part, there was dirt, scuff marks, and peeling everywhere. So, the first item we knew we needed to tackle on our big project list after the ceilings were finished was paint.

Speaking of the project list... this is the "Official Project List" that stays on the fridge for reference. I'm afraid that we are adding things to it at a faster rate than they are getting checked off. It's never-ending I tell ya. 

We decided to go with Sherwin Williams for our paint supply after a few great recommendations, and let me tell you, it did not disappoint! Sherwin Williams runs sales on their paint pretty regularly, and a few times a year they will put it at 40% off.. a really great deal! We caught the big sale and tried to estimate as best we could how much paint we would need for ALL of this painting. The nice thing is you can buy it all un-tinted and just bring it in to get the shade you want added later. That way, you don't have to know every color you want ahead of time (which would have been nearly impossible for me) and you can also return anything you overestimated that hasn't been tinted. 

Sherwin Williams was great to work with and it was really great having a store right here in Easley to make a paint run whenever needed. There was probably not a day that went by that we didn't make a stop by the good 'ol SW.. and sometimes more than once a day. They seriously knew us by name. So if you have any questions about SW paint.. I'm your girl. 


Here is what we used:


SW Eminence Ceiling Paint
This comes ready to paint as is for ceilings (no tint needs to be added for regular, white ceilings)

SW Emerald Semi-Gloss for all Trim painting 
(crown, baseboards, doors, door frames, window frames, bookshelves, mantle)


SW Emerald Matte for all walls except Bathrooms


SW Emerald Satin for Bathroom Walls
(This gives the walls a slightly glossy finish for durability and water resistance, but not quite as glossy as the semi-gloss trim paint)


SW ProClassic Semi-Gloss for Kitchen Cabinets
This is what the SW guy recommended for cabinet use-- turned out beautiful!

I would recommend ANY of the above paints in a heartbeat. I promise you, it is money well spent. It all went on so easy and covered so well. "You get what you pay for" has never been more true.


So after.. 
8 gallons of ceiling paint,
3 gallons of trim paint,
8 gallons of wall paint,
4 quarts of wall paint,
5 gallons of cabinet paint,
and more sample jars than I care to admit..


I am happy to say that after swimming in 25 gallons worth of paint for about 5 weeks, we are D.O.N.E. painting. Seriously, stick a fork in us. We still have some touch up work and a few small things left (all of which we should be able to accomplish with the paint we have left over... PLEASE no more money spent at SW!!), but the big majority of this project is finished. A HUGE checkmark on our project list!! Woo-hoo!!

Stay tuned for next post to see how it all turned out!

January 4, 2014

Goodbye Popcorn!

Remember these lovely popcorn ceilings? :


Let's just say they were not my favorite part about the house, and removing them was near the top of my wish list. After a lot of online research we decided this was way too big of a project to tackle on our own. Turns out it is NOT a fun job and it is really hard to do right. And since pretty much the entire house is popcorn aside from the two bathrooms and the closets, we knew this wasn't a DIY opportunity. It is also a very messy job, so we knew we needed to do it very first, before any other projects started. (Turns out the rates are also reduced if the house has no furniture in it and if the walls will be painted after smoothing-- score!) So with the help of "Drywall Steve", as he calls himself, we now have beautiful, smooth ceilings!! 

When he came to check out the house and give us a quote, we found out that not only were the ceilings popcorn textured, but they had also been painted at some point over the years meaning they are pretty much impossible to scrape off at that point. This meant that rather than simply scraping the ceilings back to their pre-textured state, he would have to spread a coat of drywall material (a "skim-coat") on top of the texture to bring the entire thing to a smooth finish. 

Here are a few pictures during the process:


First coat is on.. getting smoother! 


Steve would also make repairs in the ceilings and walls as he came across imperfections, nail holes, cracks, etc and brought all walls and ceilings to a smooth, ready-to-paint finish. 


And here are the final results, pre-painting:


And the painted finish:


(You can see we were also in the middle of testing sample after sample for paint colors)


My very handy project team painting the ceilings!


So there you have it! Steve was great to work with and the finished product was exactly what I was hoping for! The painted popcorn almost doubled the cost of this project from what we were expecting (a fabulous way to begin this home renovation), but I think that this may end up being the best investment we make in the house. It's hard to appreciate from the pictures, but the entire house looks drastically updated from just this one project. So, if you are thinking about smoothing your ceilings.. do it! You won't regret it. 

December 31, 2013

B St: Before

One of the first things I did after we closed on the house was to go inside and take pictures of our "blank slate". I wanted to be sure to take as many pictures as I could think of so that we would have a good set of "before" pictures once all the work started!

Living Room


Dining Room


Kitchen


Back Door looking into Mudroom


View of Dining Room and Entryway/Kitchen area


LOTS of wear on those cabinets


Master Bedroom


We're a little unsure of what this odd shelf is in the wall. This is where we will put our bed so it will end up above the bed. Our theory is maybe it was a spot for an old window unit before the house had central air? We noticed when looking back at the old pics that the previous owners had just tried to cover it up with picture frame. Stay tuned to see what we end up deciding to do with it!


View of the closet


Master Bathroom


Guest Bedroom #2 (this one is connected to our bedroom)


View of Master Bedroom from Guest Bedroom


Hallway
The Kitchen is immediately to the right. The front Living Room is the 2nd room on the right. The other Guest Bedroom is straight ahead at the front of the house. The Guest bathroom is on the left.


Guest Bathroom
We were happy that the bathrooms have been pretty nicely re-done. You can see this tub/shower has been fully tiled with granite countertops on the vanity. The Master Bathroom has an updated vanity with granite countertops and tile work along the walls, but no tile in the shower.


Linen Cabinet in the hallway


Guest Bedroom #2


So there is a complete BEFORE tour! Now the challenge is to give it a fresh look but still maintain the character that comes with a house this age!