July 1, 2014

Can I Sleep on my Floors?

So one of the final major projects we decided to do over here at Project B St was the floors. We were saving this project until the very end so that we didn't risk paint spills, scratches, etc on the new floors. To me, the less traffic on the new floors before moving in, the better. The house had original hardwood floors in all bedrooms/closets and also in the front living room. The original hardwood wasn't in terrible shape but was definitely starting to show its age after years of wear and tear. The dining room/den area had engineered hardwoods, and the entryway and kitchen area had vinyl stick-on flooring. So it was a little choppy with all the different types of flooring going on and we knew from the beginning that we wanted to at least replace the vinyl areas. We went back and forth on how we wanted to do this, and after debating several different options at several different price points (and after finding out I passed my boards and wouldn't need to spend thousands of dollars to retake them!), we decided to go for the top tier option. We decided to pull up all the vinyl AND all the engineered hardwood in the dining room/den and put down the same type of solid hardwood that was present in the rest of the house. We also decided to fully refinish the floors in rest of the house. This would allow us to stain the entire house at one time creating a fully uniform look with matching color throughout. Although this would be a splurge compared to what we had originally planned for the floors, we thought it would be a good investment in the house and knew it would provide a drastic improvement to the overall look and feel of the house.

The first thing we had to do was clear out the entire house which had become kind of a crazy mess full of scrap wood, paint supplies, tools, screws, saws, etc. We took a lot back to my parents house but also packed the mud room to full capacity since it was the only spot in the house that wasn't having floor work done:
No room to spare!

And once everything was cleared out, I took a round of before pictures! 
 Vinyl floors in the kitchen and entryway
 Transition from vinyl to engineered hardwood.
Engineered hardwood
 Transition from original to engineered hardwoods
 A view of all three types of floors: original hardwoods in hallway, vinyl in kitchen/entryway, and engineered at the back of the picture in the dining room.
 A close up of the original shows they could definitely benefit from refinishing.
They delivered the hardwoods 24 hours before they started laying them. This is supposed to give the wood time to expand/contract in adjustment to the temperature of the house before they are nailed into place.
The first day they ripped up all the old engineered and vinyl floor all the way down to the subfloor:
The subfloor underneath the entryway revealed what looks like used to be a back porch!
 and also got started laying the new wood:
There were SO many layers of floor underneath the vinyl in the kitchen. You can see how thick the floor was from where I originally painted the cabinets to compared to how much more cabinet is showing with the old floors ripped up and the new single layer of floor placed. At least an inch gained!

Over the next few days, they finished laying all the new flooring and sanded down the remainng flooring. It was crazy how the old flooring looked exactly like the brand new floor once it was sanded down.. good as new!!
 Right through that doorway is the transition from new floor to old floor. Looks exactly the same!
LOVE the seamless transition from hallway to kitchen to dining room! No more choppy-ness!
All sanded down and ready for staining!
After they were all sanded it was time to start staining. Meaning it was time for me to pick out a color! Oh Boy. The only thing that was better about this compared to paint samples was that I basically had to decide right there on the spot. No time to spend hours debating sample after sample. 
 So we started with the 4 colors above. I knew right away the bottom color was too light and the top color was WAY too dark for my taste. So it was down to the two middle colors. Adam was all for the lighter color when I was really wanting to stay on the darker side. I was afraid the middle-right just wasn't going to be enough of a change from what was there originally. But Adam and my parents both thought the middle-left was just too drastically dark.
 So I did some online research and found a color in between those two that I thought might work. So the next morning (the day they were going to start staining!) I had him bring over ONE more color and then I would make a split decision. The name of the color is Dark Walnut and I knew as soon as he started spreading it that it was the one!
A perfect medium right in between the other two!

So all that was left was a coat of stain and then three coats of polyurethane on top! They only do one coat per day so this was a 4 day process.
 Stain coat is down and so happy with the color!
 Polyurethane going down.
 
I love this view. It was so amazing how much bigger it seems since there isnt a break between the dining room and the entryway!
I think there was one final coat of polyurethane that went on over this layer that was a little less glossy in appearance, so the final look isn't quite as shiny as this picture looks, but I must have forgotten to get a final picture after the final coat! 

And a before and after!
We are SO happy with our new floors!! It is amazing how it has changed the look of this entire house and I dont think we will ever regret spending the money to have it done! We used Action Flooring Contractors out of Piedmont and we were VERY impressed with their work. They took their time and did a top quality job.   

April 30, 2014

My Roomie Got Married!!!

About this time 8 years ago I was getting ready to graduate High School and had plans to attend Clemson University that fall. I was going through the great roommate debate that every high school senior goes through before they start college. I didn't want a randomly assigned roommate but none of my really good girlfriends from high school were going to Clemson. Oh the drama of high school.. :) Townsend and I had a mutual friend who knew that we were both in the same roommate predicament and introduced us through none other than MySpace! Yeah.. we were cool. So we had a few conversations through AIM (another blast from the past) and decided we needed to meet! So the two of us and our moms had lunch:
And the rest was history! A few months later we moved into Lever for our very first day of college:
And we lived together for the next 4 years, until the day we graduated:
And this weekend I got to stand by her side as she married the love of her life!
And what a gorgeous bride she made!!!
Smokin' hot bridal party!
First toast as Mr. and Mrs.!
 Always a fun time with this one as my date!

Everything was SO beautiful. The bride, the weather, the ceremony. 
It couldn't have been a more perfect weekend.

I am so thankful God allowed our paths to cross 8 years ago. I couldn't imagine my college years without this girl, and I'm thankful for the forever friendship that was created in the process. 

Congratulations to my favorite new newlyweds!! 

April 29, 2014

Handy Randy at it Again!!

Have you met our Handy Randy yet??
This house would seriously NOT be a reality without him. He has slaved over this house down to the final details like it were his own, and we are SO, SO thankful for all of the time, money, and effort he has put into it. Anyways, ever since we finished up all the painting over Christmas, he has been hard at work with some pretty major projects over the last few months.

The first thing he tackled was the major closet makeover you can read about here. The next area that received major attention was this bookshelf/window area:
I am planning on setting up this half of the room as a small sitting area/keeping room with two sitting chairs and a TV. I thought the perfect way to add a little more seating in the room while not taking up anymore floor space would be a built-in window bench in between the two bookcases. Plus, isnt that window just BEGGING for a window bench??

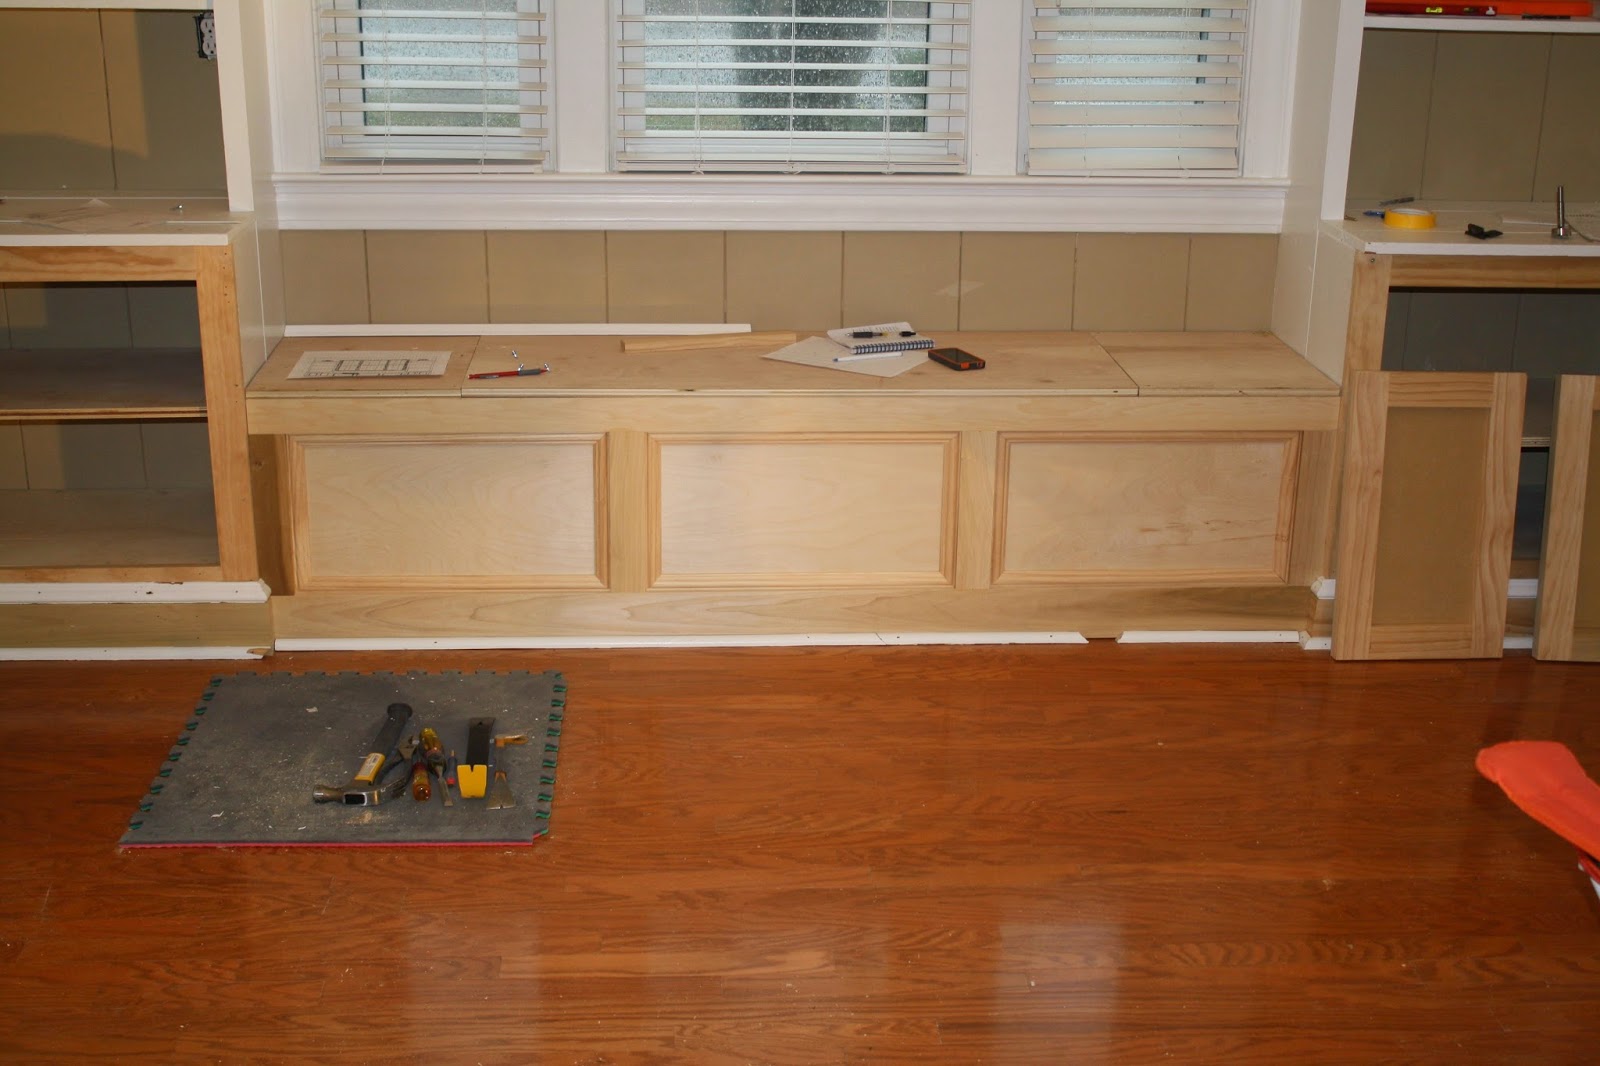
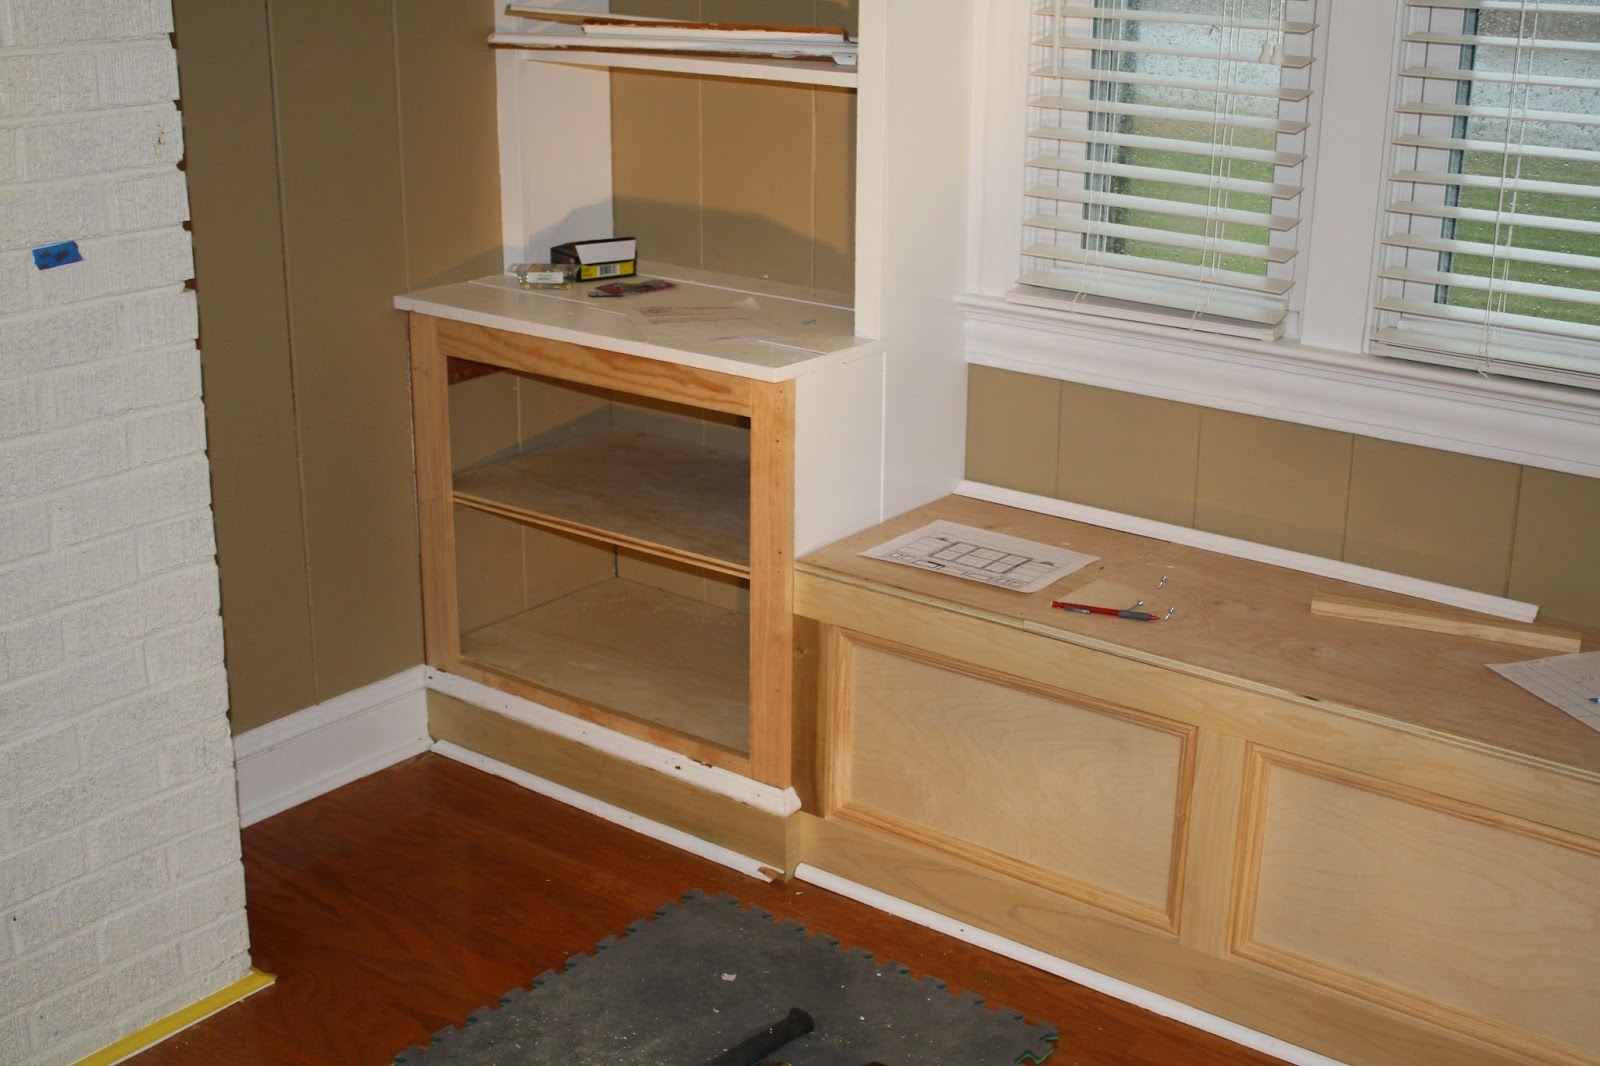
We also wanted to update the cabinet work as well. The left side was a desk that we decided to convert to cabinets to match the right side. The area isn't really very accessible for function as an actual desk, and making it into a cabinet would allow us somewhere to put the cable box, DVD player, etc should we decide to mount a TV onto the wall. Dad also thought that since he would be making new doors for the left side, he could easily make a new set for the right side that would look much better than the paneled doors and dated hinges that were there originally. I also wasn't really loving the zig-zag valences at the top. So Dad did some sketching and came up with a design that would give the entire space a fresh, updated look!
Bench is in!
Left side changed from desk to cabinet.
Added trim detail around edges.
New cabinet doors installed and zig-zag valences taken down and replaced with a more updated look.
Close-up of the new cabinet doors.
 Some close-ups of the painted finish.
And the final look!!

While he was on a roll, he also made a new drawer and cabinets for the bookcase in the back bedroom:
I LOVE the beadboard look he added!!

And finally, while I was in Aiken this weekend I saw this sign on the side of the road:
Looks like Handy Randy has been looking for more work behind my back! I guess I can't blame him... they probably pay a little more. :)